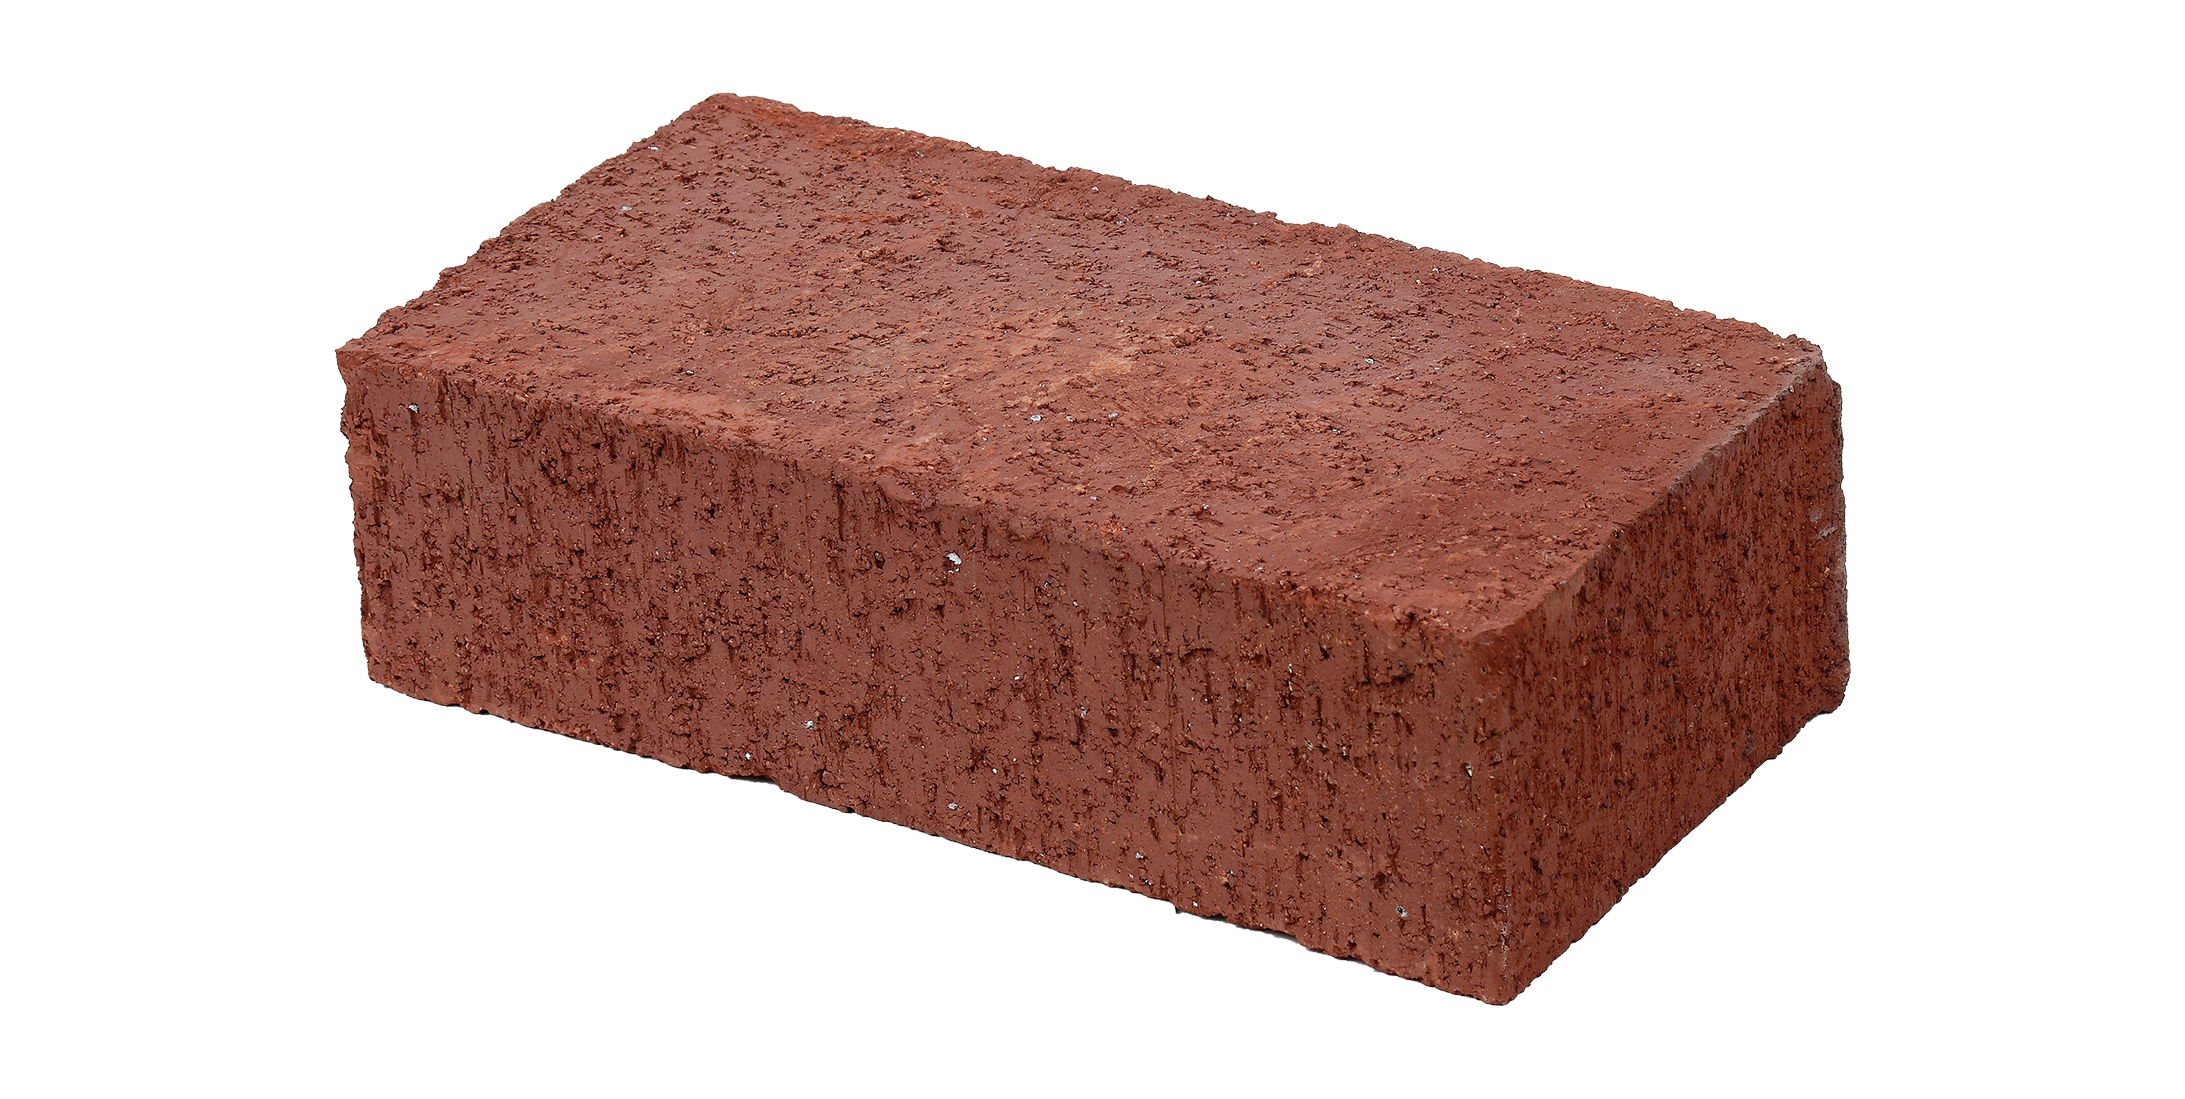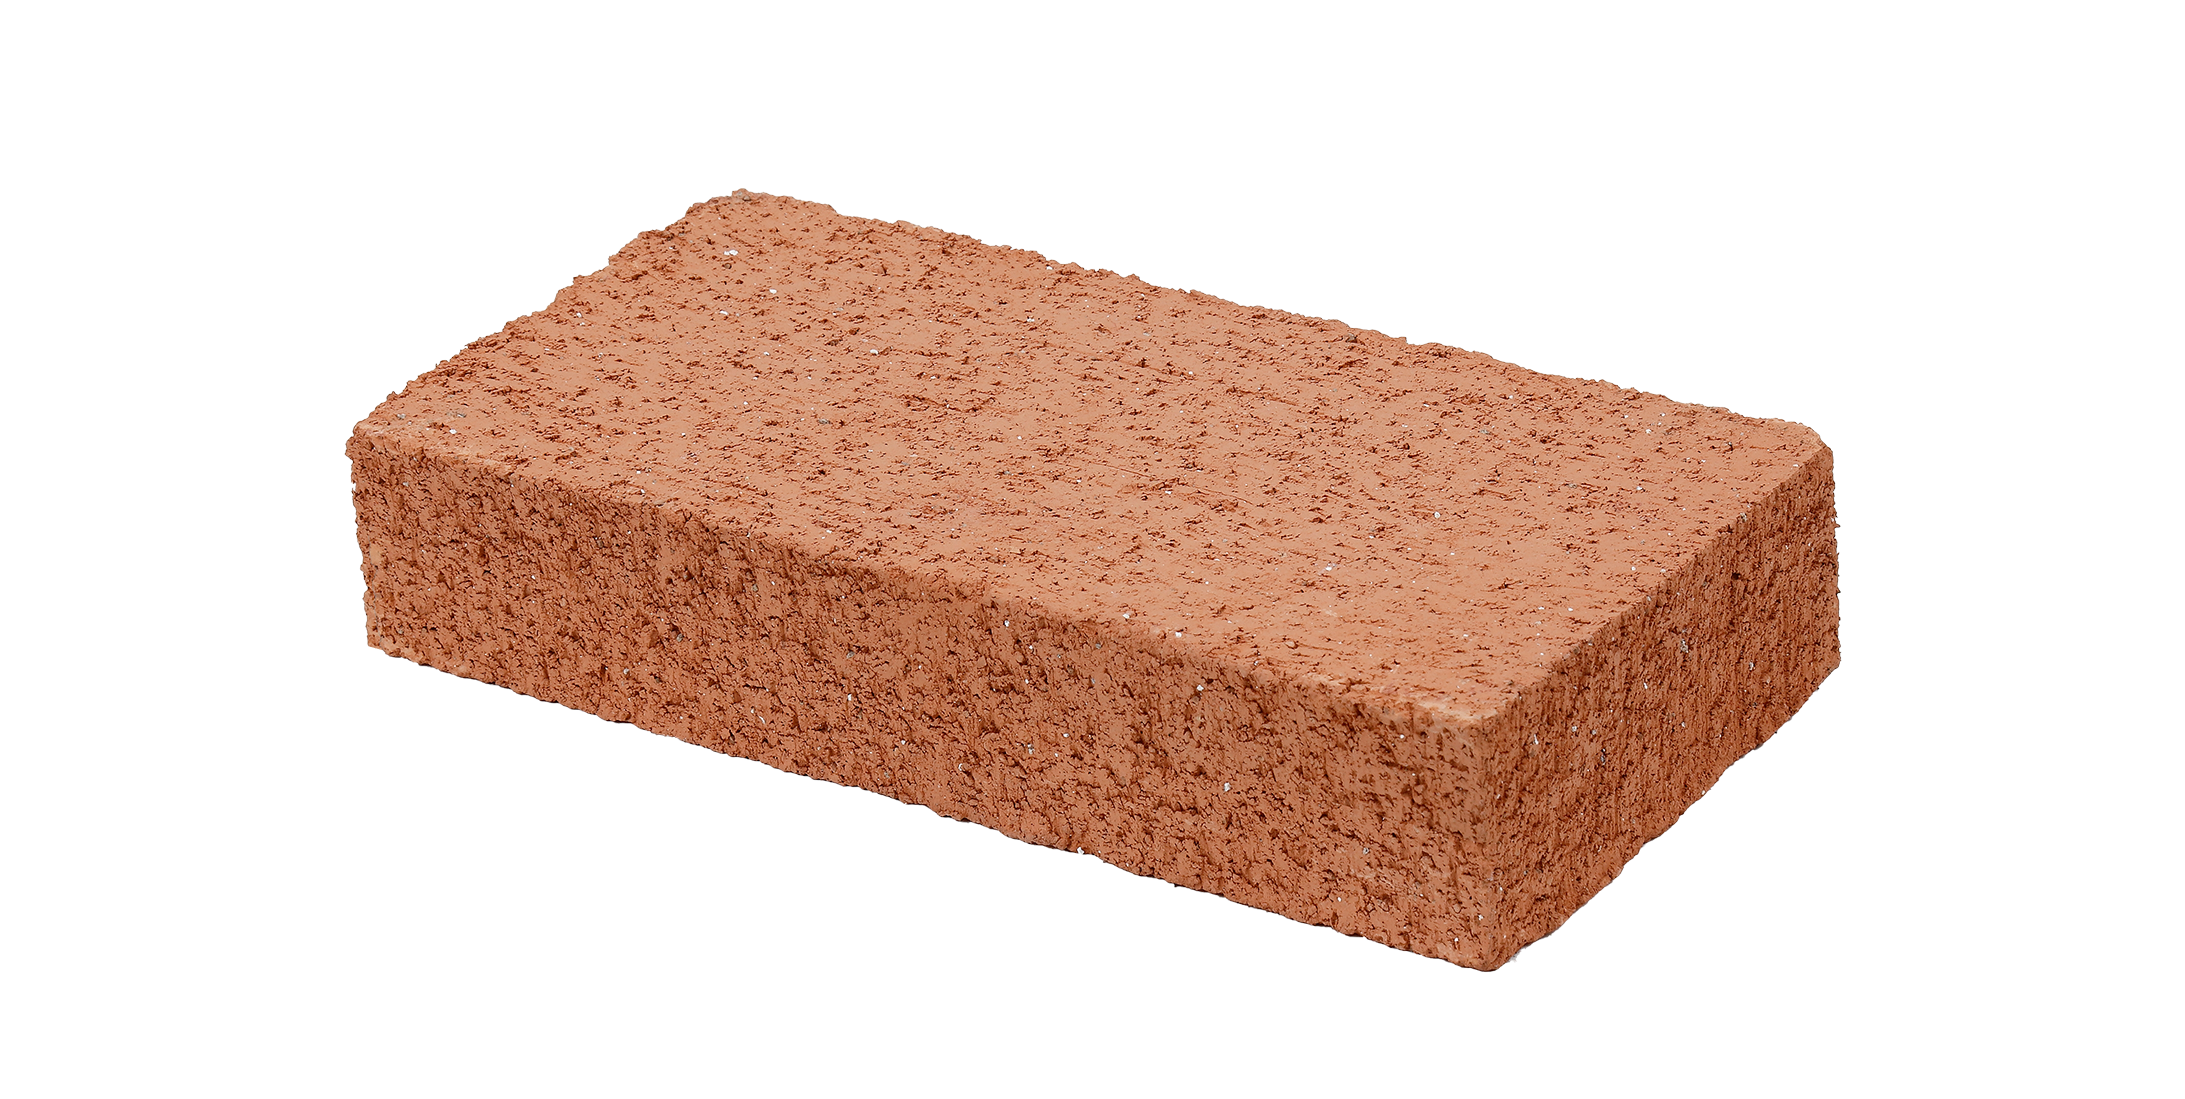
20 x 10 x 3.80 cm
1.40 kg
20 x 10 x 5.70 cm
2.10 kg

1. Planning
Start by measuring the area you want to improve, make a diagram of what you want to do.
2. Preparation of the area
Before digging make sure there are no water or electricity pipes in the area. Prepare the fall and/or natural level that is needed for the drain. Be sure to start the installation in a corner that is 90° degrees.
3. Excavation
The depth to dig will depend on the thickness of the Ladrillo Sólido to be installed and the layer of sand to be placed. In pedestrian areas or light cars, prepare the compacted area and adequate water fall as if it were to receive a concrete floor. For areas of difficult compaction, only remove weak material and replace with 10 to 15 cm of a gravel-sand mixture for light traffic, this area must be compacted before continuing with the installation process. For heavy traffic areas, backfill 15-20cm with ¼” stone and still compact with heavy compaction equipment.
4. Base installation
Compact the excavated surface with a trench rammer. In small areas, an earth rammer may be sufficient. Depending on the type of soil, it is recommended to place a ¾” gravel-sand stone at a height of 12 to 15 cm of thickness. Compact this area with a trench rammer. Moisten the material slightly with a little water, this helps a better compaction. Continue adding layers of stones or gravel-sand compacting until their compacted thickness is between 8 and 11 cm thick. Be sure to leave enough fall for water drainage. A drop of 1 cm per linear meter is recommended.
5. Closing the sides of the wall of Ladrillo Sólido
Normally in areas of people passing and light cars, the sides of the floor are closed with concrete placed at 45° degrees between the side of the Ladrillo Sólido and the floor. But the other faces are closed with parapets that can be 10 cm wide. For purposes of heavy vehicles, the end of the brick floor must be closed with a 35 cm parapet wide and 10 cm below the bottom level of the Ladrillo Sólido with 90° degrees on all corners.
6. Placing the sand
Before placing the Ladrillo Sólido, place a base of sand which can have a thickness between 5 to 10 cm, compact with the vibrator rammer. Once compacted, it loosens 3 to 5 mm from the upper surface of the sand bed with a long, straight piece of wood, proceed to level the sand bed, always taking into account the level of the drainage drop.
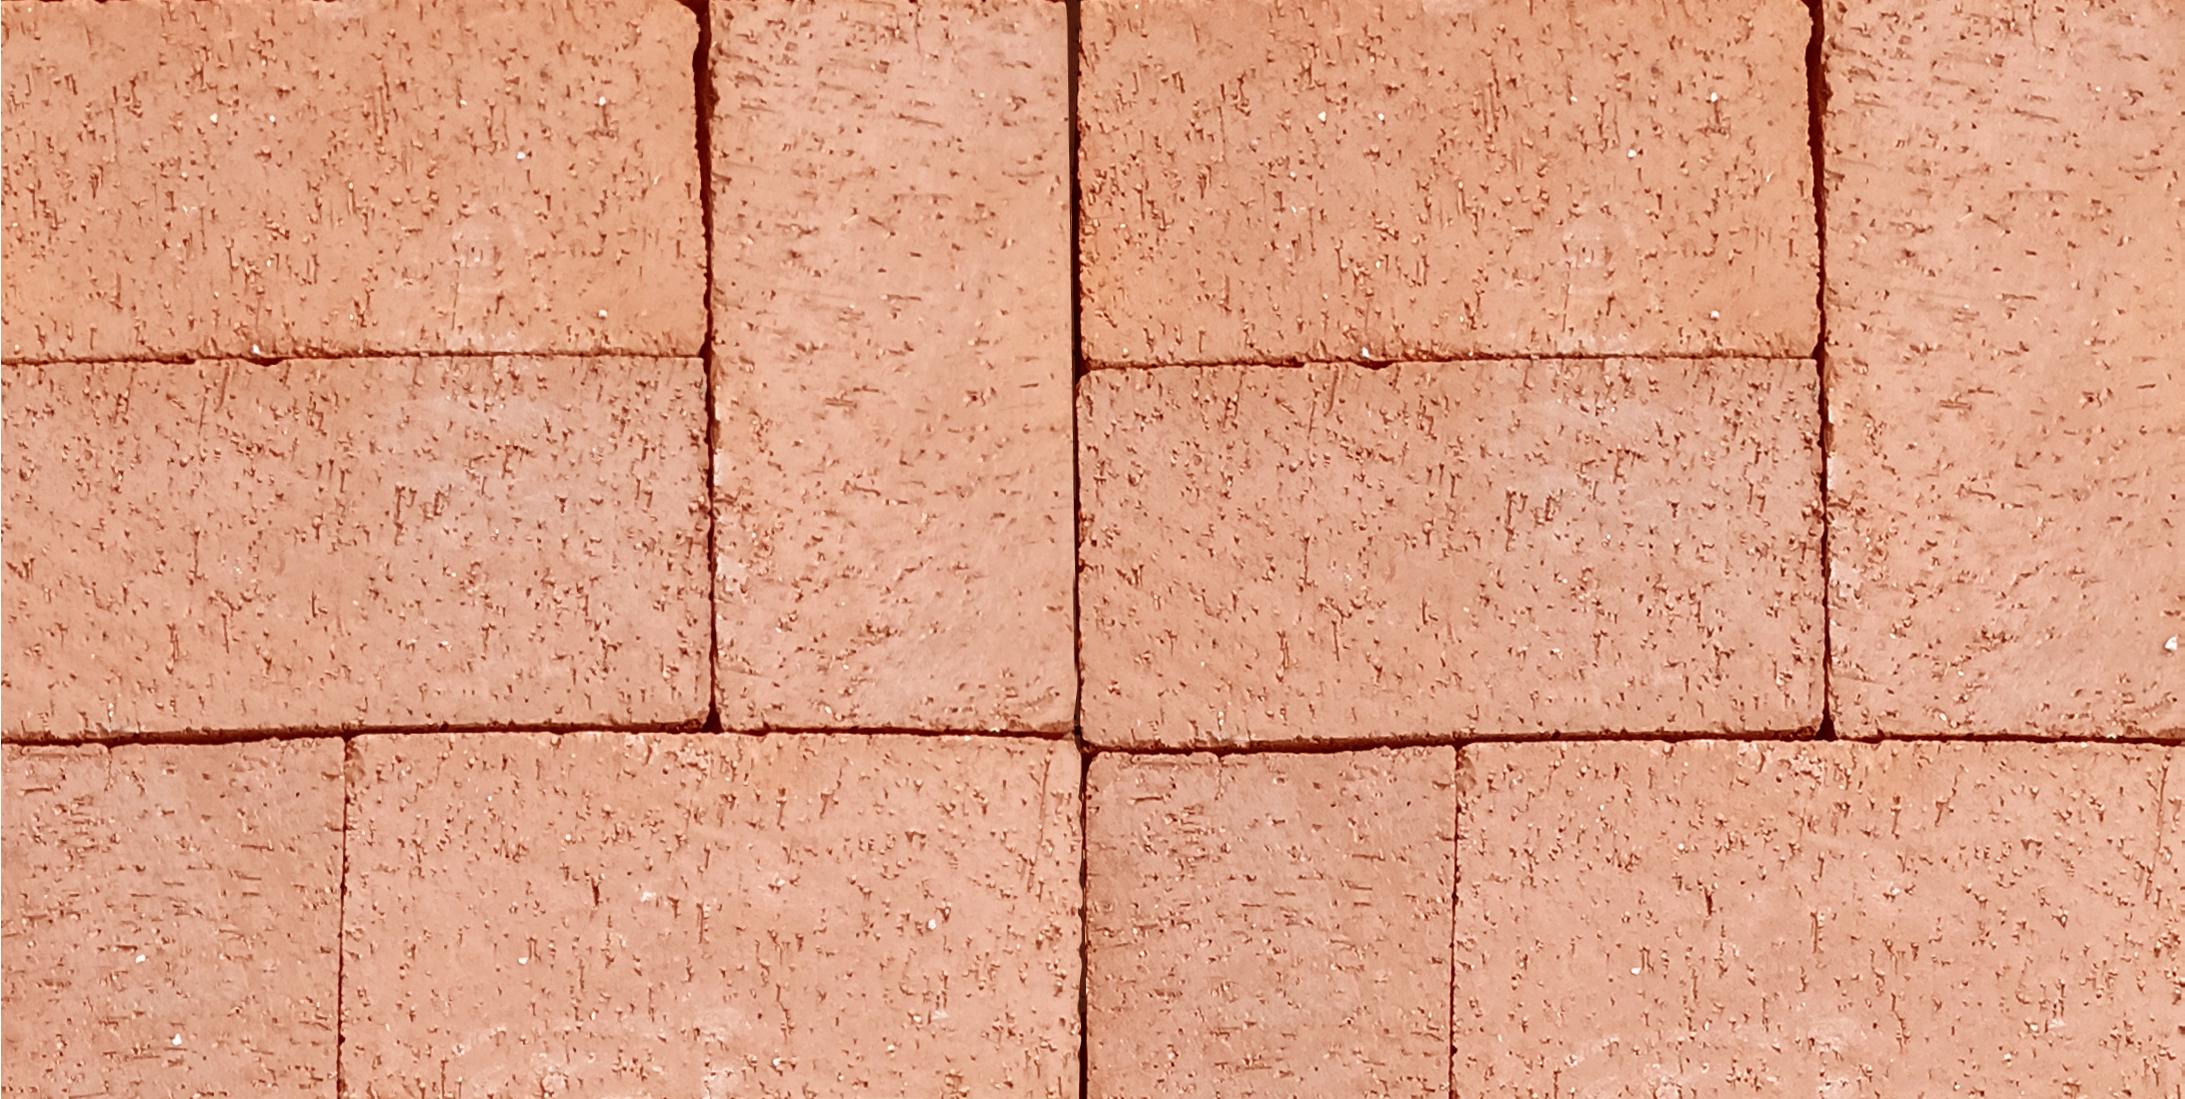
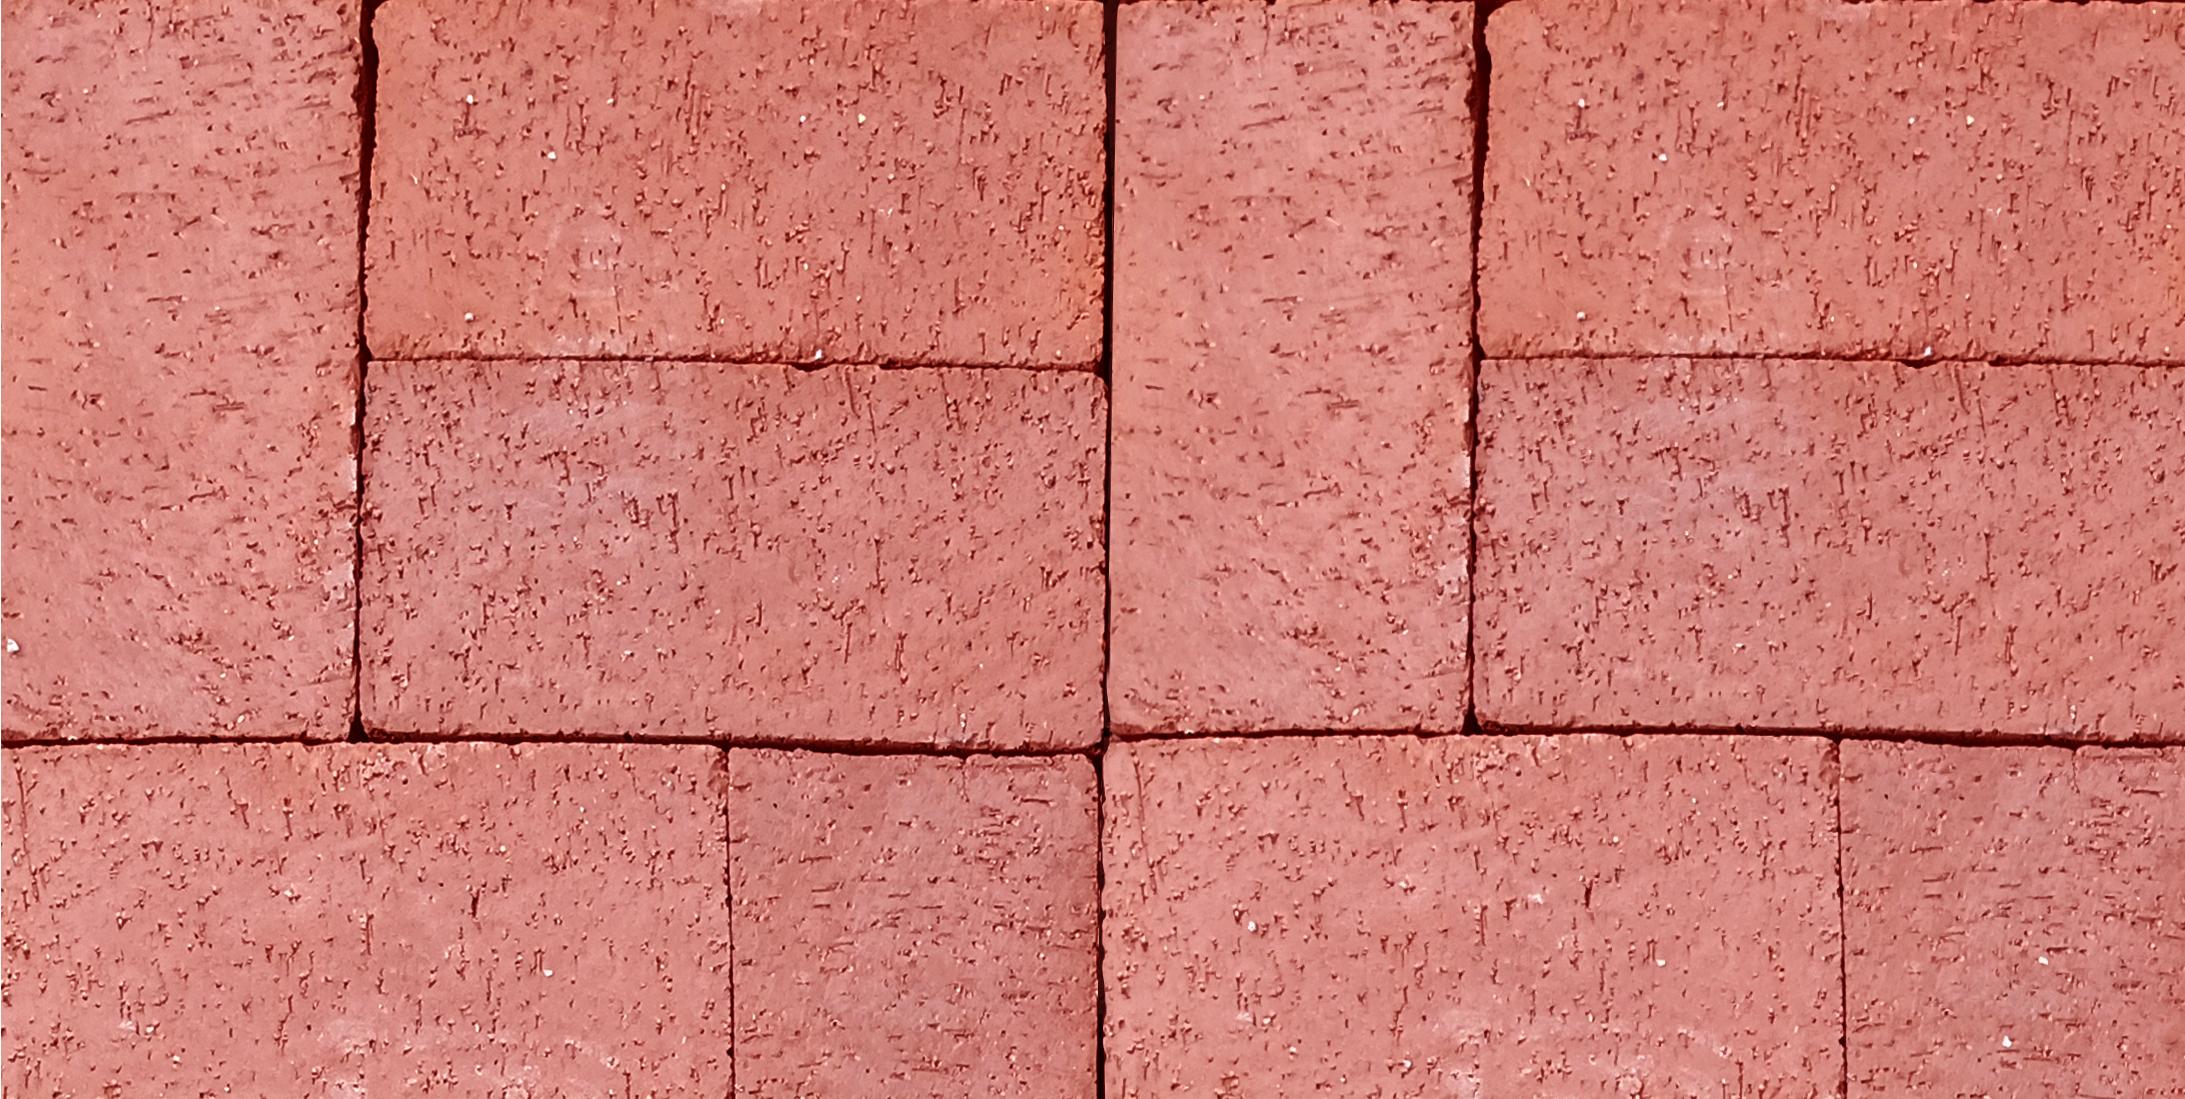
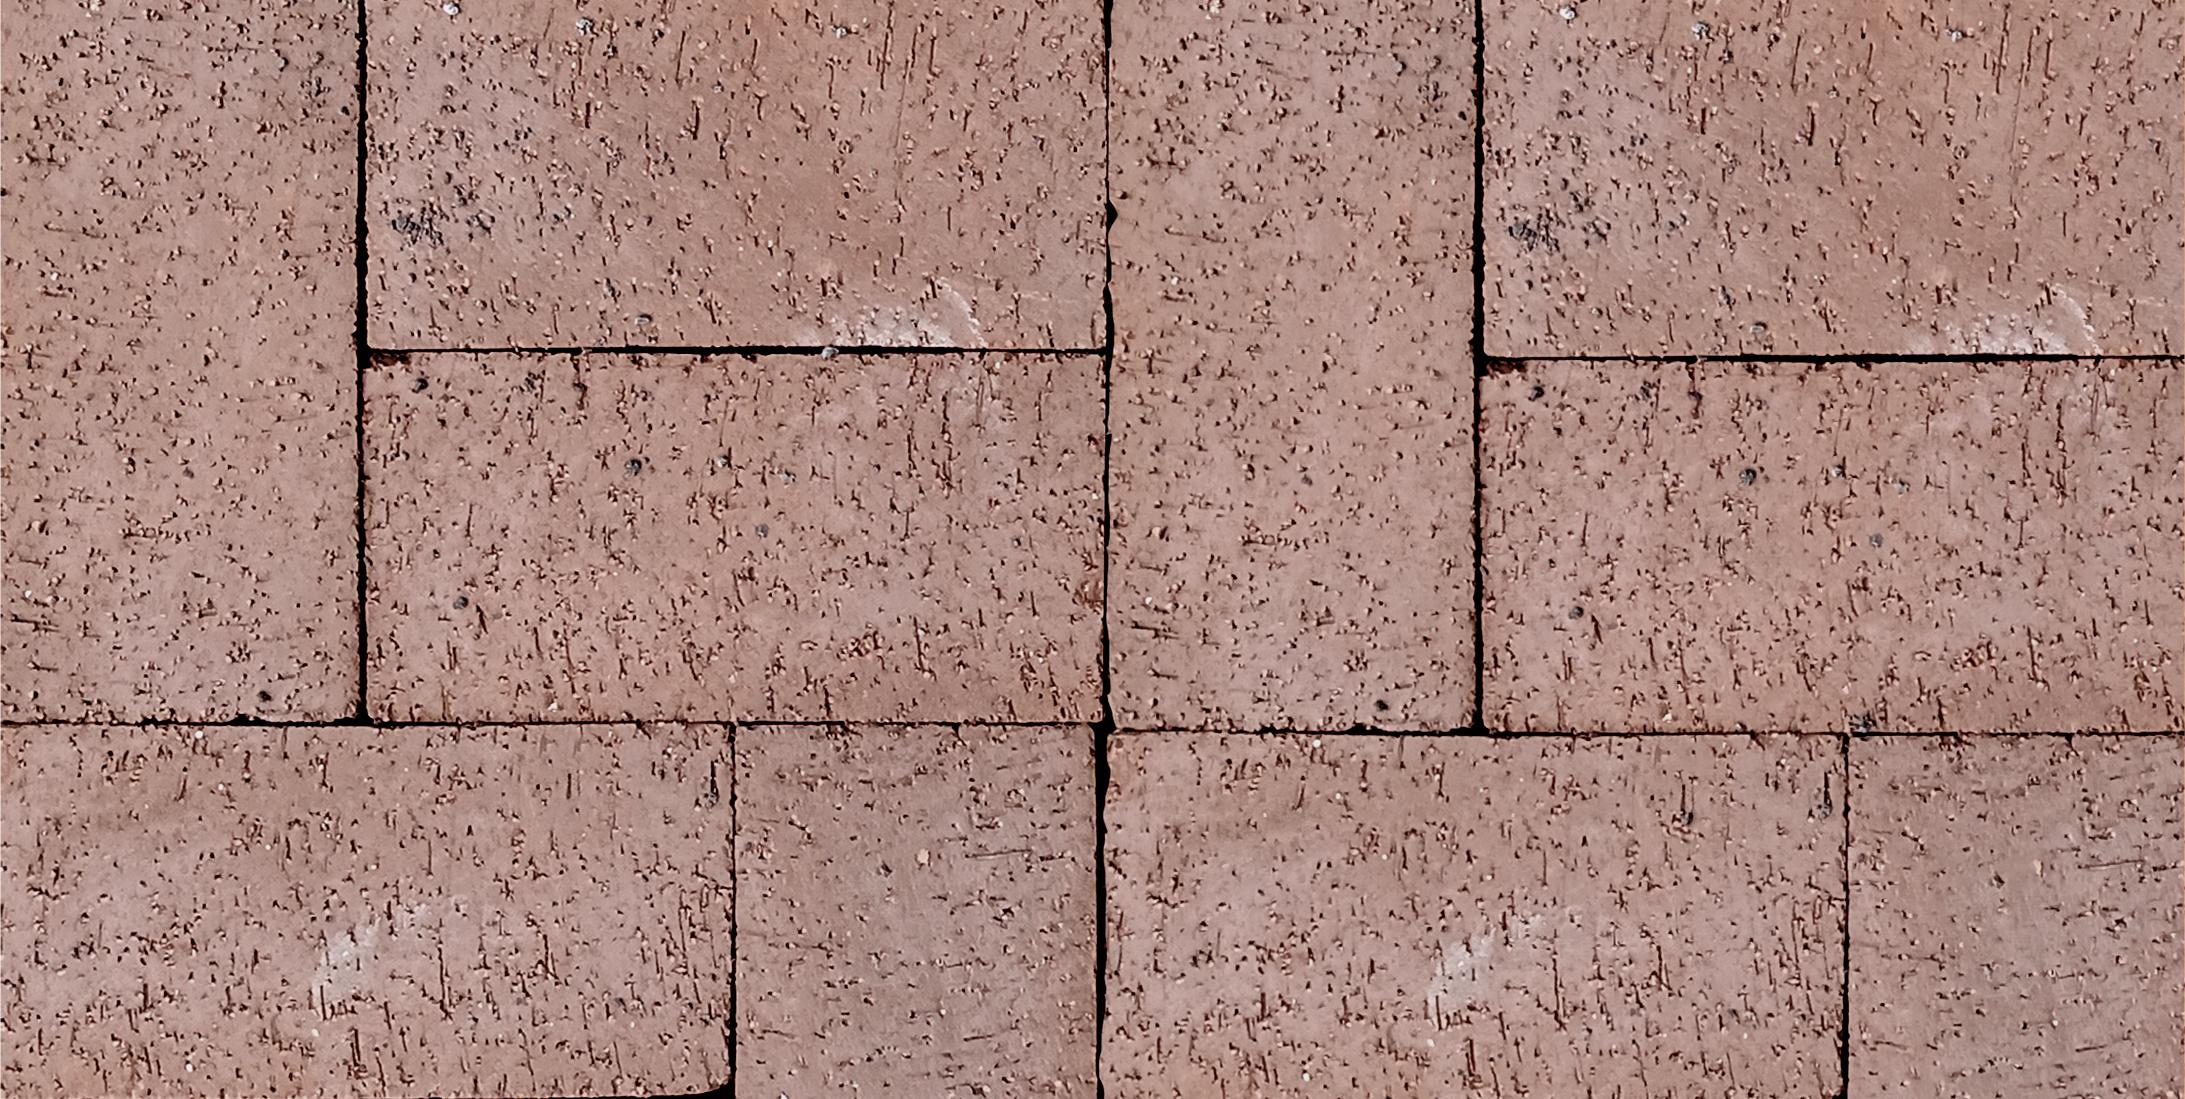
7. Ladrillo Sólido laying
Starting at a 90° corner, lay the Ladrillo Sólido in the pattern or design of your choice. Work in an outward direction keeping all join lines straight. Periodically check the alignment of the Ladrillo Sólido. All bricks should line up, if not, use a screwdriver or hammer to straighten the lines. Remember to never step on the sand where you are laying the Ladrillo Sólido.
8. Compactions
Once the Ladrillo Sólido are placed, sweep the floor to remove debris. Spread fine, dry sand over the surface and sweep it into the cracks between the bricks. Compact the bricks using the trench rammer. Excessive sand left on top of the brick will flow down the slots upon compaction. Pass the compactor two or three times if necessary.
Fill out the form and we will contact you as soon as possible.
Ladrillera Mecanizada @ 2025 All rights reserved
 Ladrillo para Asador
 Barro Kappa
 Ladrillo Modular
 Tabique Porotón
 Ladrillo Azteca
 Sistema de Vigueta y Bovedilla
 Barro Bloque
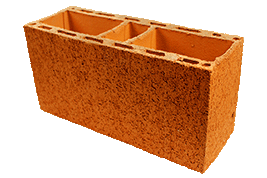 Ecomuro
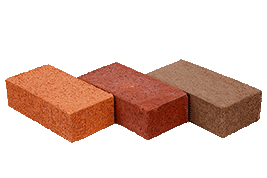 Ladrillo Sólido
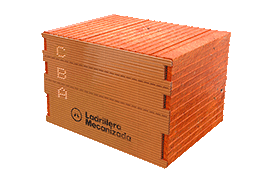 Barrotapa
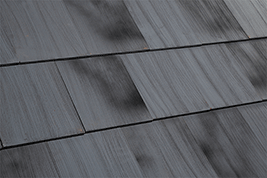 Teja Inglesa
 Teja Tipo S
 Teja Griega
 Teja Esparta
 Teja Santorini
 Teja Media Caña
 Teja Gales
 Teja Nuevo Vallarta
 Teja Romana
 Teja Portuguesa
 Teja Marsellesa
 Teja Árabe
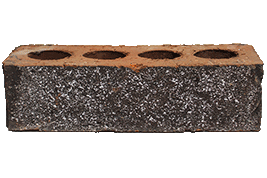 Ladrillo Decorativo
 Fachaleta
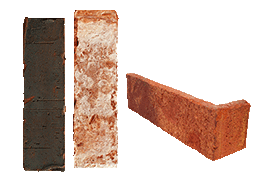 Cintilla
 Teja Portuguesa Esmaltada
 Baldosa Super
 Baldosa
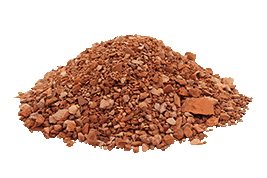 Grava de Barro
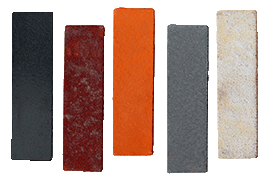 Fachaladrillo
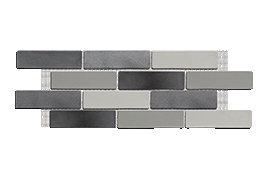 Ladrimalla
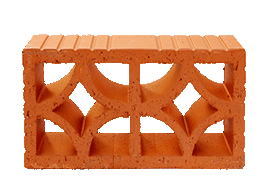 Celosías
 Piedra Decorativa