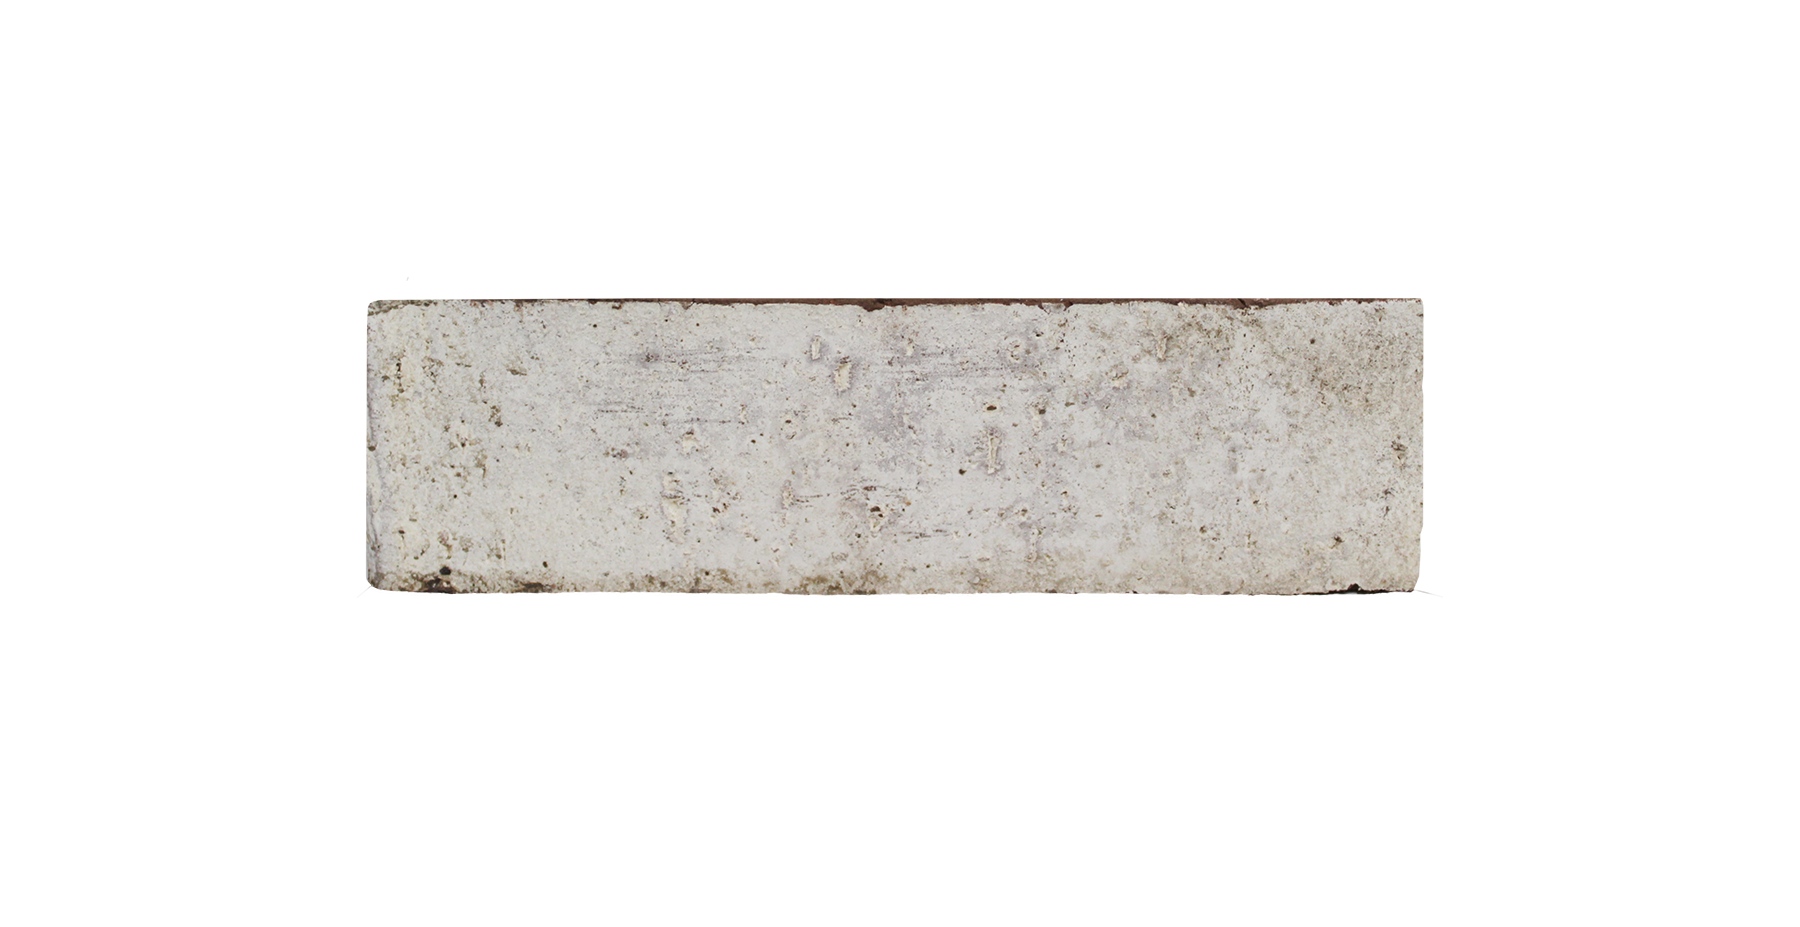


6.7 x 24.4 x 1.6 a 1.9
Mate
1.60 cm
Wall
.40 kg

1. Clean the surface of dust, paint, oils or impurities that prevent the adhesion of the adhesive.
2. Mix the contents of several boxes/pallets to get an even color distribution.There’s no color order. It is recommended that the pieces are chosen randomly.
3. To aid in the separation between the rows of the Cintilla, you can use nozzle spacers by inserting a point between the rows.
4. Mark horizontal lines with a ruler on the installation surface. For this, get the average of the height of several pieces of the Cintilla to determine the separation of the lines, including the thickness of the nozzle, approximately 1 cm. For example: if the average height of the pieces is 6.7 cm and we consider a mark for every two rows of the Cintilla plus its two nozzles, the separation between lines will be 15.4 cm.
5. Apply the adhesive concrete evenly to the back surface of the brick slip and press against the wall.
5.2. Apply the adhesive concrete evenly over the wall using a ¼” x ¼” trowel and press the brick slip against the adhesive.
Classic Finish
6. Use a pre-mixed gritty nozzle and prepare following the nozzle manufacturer's instructions. Apply to the joint using a grout bag. Subsequently, clean the excess with a plastic brush with soft bristles or a clean sponge. Finally, we strongly suggest applying a sealant specially designed for clay products to protect your facade against the effects of its exposure to outdoors weather.
Rustic Finish
6.2. Use a pre-mixed gritty nozzle and prepare following the nozzle manufacturer's instructions. Distribute the grout paste over the brick surface with a trowel, spreading the mixture evenly. Remove excess with a clean, damp sponge. Frequently rinse the sponge to facilitate cleaning. Finally, we strongly suggest applying a sealant specially designed for clay products to protect your facade against the effects of its exposure to outdoors weather.
Fill out the form and we will contact you as soon as possible.
